Phase 1: Choosing Your Target and Gathering Intel
The first step in creating a diss track is knowing exactly who you are talking to and why. A vague song that could be about anyone rarely works. You need to be specific so the audience knows who is being roasted.
Finding the Weakness: Spend time looking into the person you are targeting. Look at their past social media posts, old videos, or even stories from people who know them. If they have made mistakes or said things that contradict their current image, those are your best weapons.
Setting the Tone: Decide if your track will be funny or serious. Some of the most famous songs in hip hop history are funny because they make the opponent look like a joke. Others are dark and aggressive. Your choice depends on your personality and what your target did to deserve the song.
Phase 2: Finding the Right Beat
The beat is the foundation of your entire song. It tells the listener how to feel before you even start rapping. If you pick a happy, upbeat pop track, your insults will not land with much force.
Think about these elements when picking a beat:
- BPM (Tempo): Usually between 80 and 100 BPM for a gritty feel, or 140+ for a fast, aggressive trap sound.
- Bass: Heavy 808s help emphasize your punchlines.
- Melody: Look for piano or string loops that sound eerie.
You can find thousands of beats on YouTube, BeatStars, or Airbit. Search for "aggressive type beat" or "dark storytelling beat." Explore our beats for diss track guide for more options.
Phase 3: Writing the Lyrics
Writing a diss track is different from writing a normal song. You are not trying to be relatable or poetic. You are trying to dismantle someone else.
The Anatomy of a Punchline: A punchline has two parts: the setup and the "punch." The setup provides context, and the punch delivers the insult. Good punchlines often use metaphors or wordplay.
Song Structure:
| Section | Purpose | Length |
|---|
| Intro | Sets the mood and identifies the target | 8-16 bars |
| Verse 1 | Establishes the reason for the diss | 16 bars |
| Hook | Makes the song memorable and catchy | 8 bars |
| Verse 2 | Deep dives into personal secrets/facts | 16-24 bars |
| Outro | Final insults and "mic drop" moment | 8-16 bars |
Learn more about diss track rhymes to improve your writing.
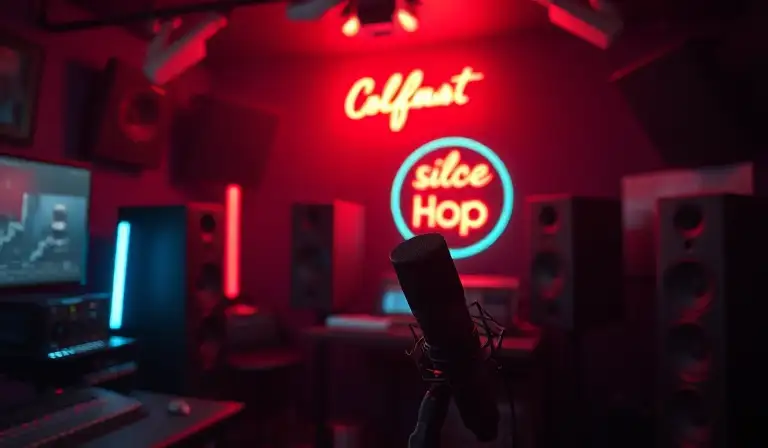
Phase 4: Recording Your Vocals
You do not need a multi-million dollar studio to make a great diss track. You do need a clear recording where your voice sounds confident.
Equipment You Need:
- Microphone: A USB mic like the Blue Yeti or a condenser mic like the Audio-Technica AT2020.
- DAW: Software like Audacity (free), GarageBand (free), or FL Studio.
- Headphones: To hear the beat while recording without bleed.
Vocal Delivery: The way you say the words is just as important as the words themselves. If you sound bored, no one will believe your insults. Try different takes. Record "ad-libs" to fill spaces between lines.
Comparison of Diss Track Styles
Different styles work for different situations. Choose based on your personality and target:
| Style | Tone | Best For |
|---|
| The Comedy Diss | Humorous, Sarcastic | Making the target look silly |
| The Gritty Diss | Aggressive, Loud | Showing lyrical dominance |
| The Fact-Check | Calm, Calculated | Exposing lies or secrets |
| The Fast Rap | Energetic, Complex | Showing off technical skill |
Phase 5: Mixing, Mastering, and Distribution
Mixing is the process of making your voice and the beat sound good together. You want your vocals to sit "on top" of the beat so every word is easy to understand.
Basic Mixing Steps:
- Leveling: Adjust volume so your voice is louder than the beat but not distorted.
- EQ: Cut muddy sounds and boost high end for clarity.
- Compression: Makes loud and quiet words more even.
- Reverb/Delay: Add a little to make vocals feel natural.
Where to Upload: SoundCloud for quick releases, YouTube for adding lyrics/videos, DistroKid/Tunecore for Spotify and TikTok. Tag the person you are dissing to get a reaction!
Use our diss track maker to simplify the entire process.